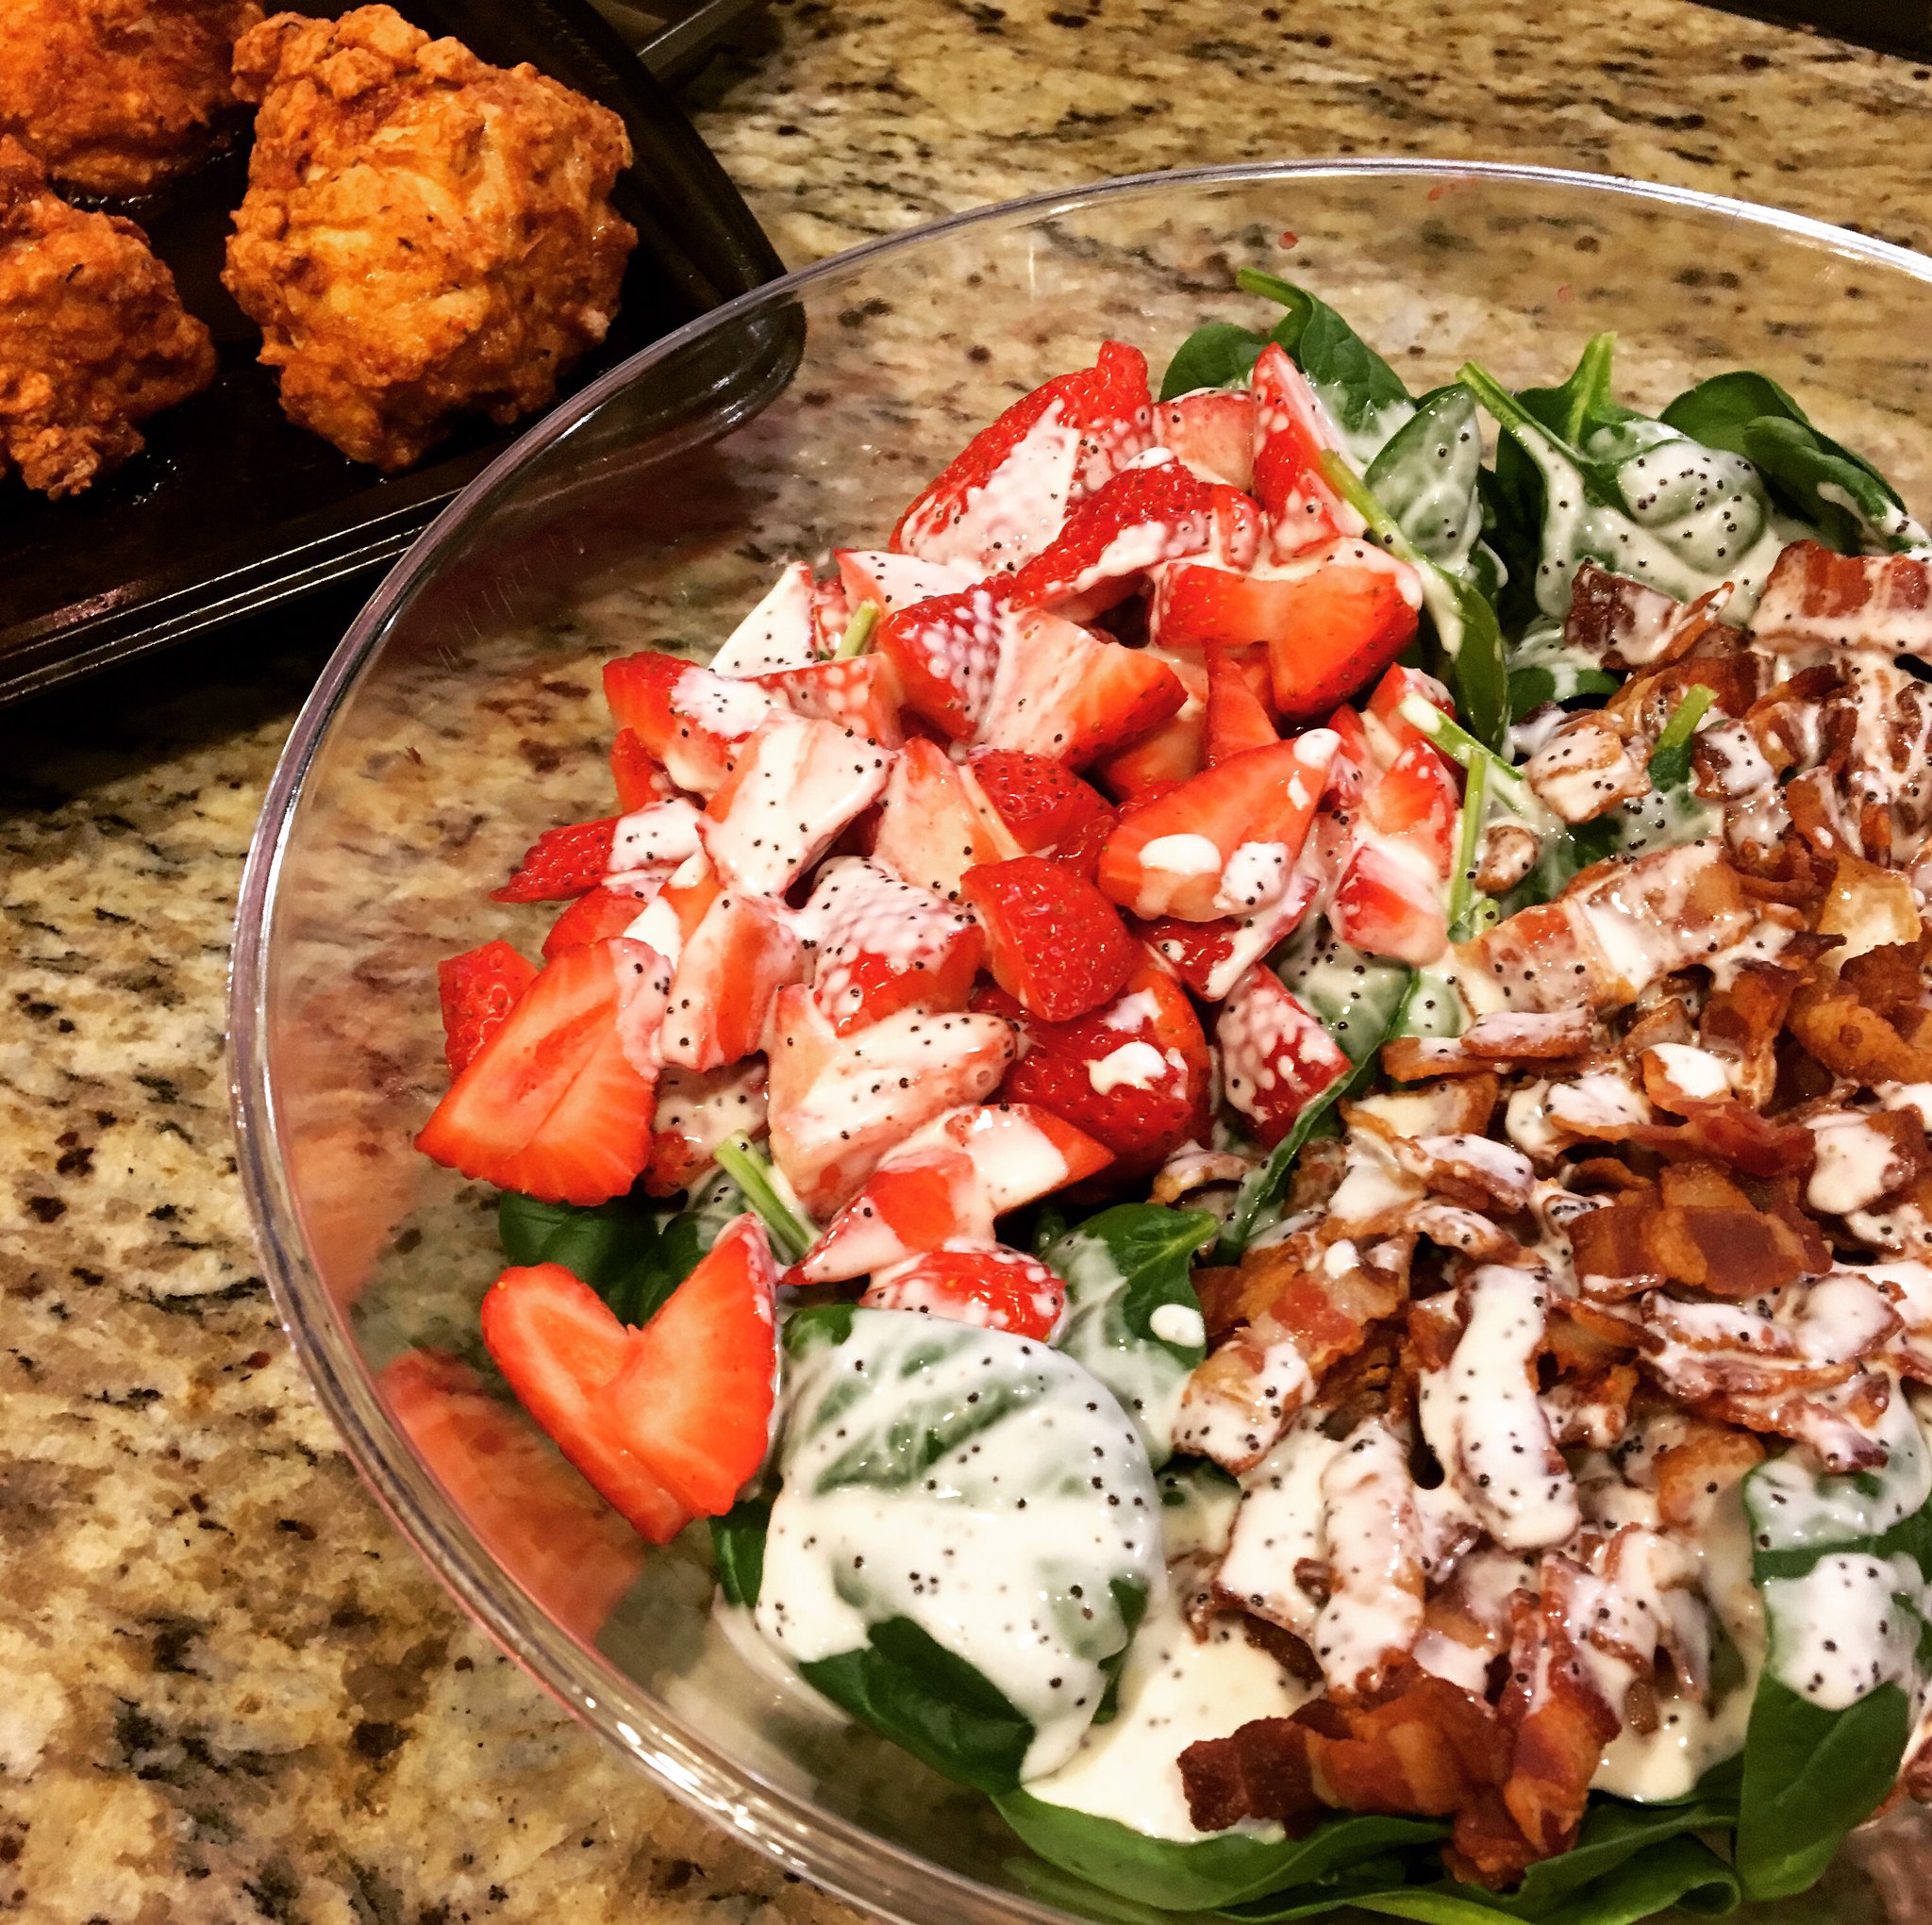
A few weeks ago I was looking for a light, fresh salad to bring to a friend's house for one of our semi-regular cooking extravaganzas. I knew my friend, Jaida, would have something delicious on her blog and I was right. As soon as I saw this Spinach Salad with Strawberries and Bacon I knew I had a winner.
I left out the toasted almonds due to Katie's nut allergy and decreased the amount of sugar in the dressing because we prefer things tangy, but otherwise I didn't change a thing. I've made this twice now and both times it was a sleeper hit. People don't seem to expect much from such a simple salad, but the flavors are so light and delicious. I know I'll be making this one often this spring and summer.
Pro tip: I like to cut bacon with kitchen shears. Simply remove however many slices you need from the package, keeping them stuck together, and cut them in half. Hold the chunk o' bacon over the skillet and snip pieces off directly into the pan. Repeat with the other half. No muss, no fuss.
Spinach Salad with Strawberries and Bacon
As seen on Sweet Beginnings, originally from Lauren's Latest
8 slices bacon, chopped
1 6oz bag baby spinach
2 cups sliced fresh strawberries
1/4 cup toasted almonds, chopped (I left these out due to Katie's allergy)
1/2 cup Greek yogurt
1/2 cup mayonnaise
1/4 cup white vinegar
2 tablespoons sugar
salt & pepper, to taste
1 teaspoon poppy seeds
In a large skillet, cook the bacon pieces over medium heat, until just crisp. Remove to a paper towel-lined plate to drain.
Place the spinach in a large bowl and top with the strawberry slices, almonds and bacon.
Combine the yogurt, mayonnaise, vinegar, sugar, salt and pepper, and poppy seeds in a small bowl and whisk until smooth. Drizzle the dressing over the salad just before serving.
All the components can be prepped a few days ahead of time and stored separately in the fridge.
Pages
▼
Wednesday, February 24, 2016
Monday, February 22, 2016
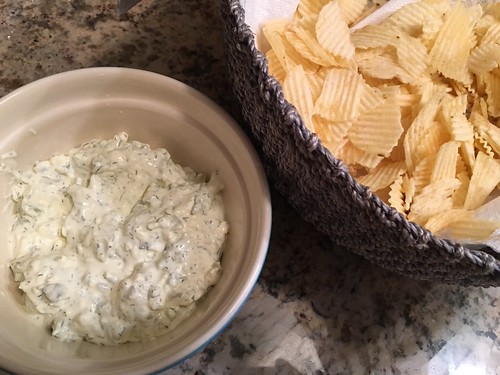
Dill Pickle Dip
People. People! Have I got an amazing party treat for you.
I had this recipe for Dill Pickle Dip saved for almost a year before I got around to making it. Why? Because we so rarely go to parties these days. Sad, but true. So when a friend invited a group of moms over for a post-Valentine's Day party, I knew this was my chance.
As soon as I unpacked the chips and dip, all the moms were oohing and ahhing. Apparently I'm not the only one who loves pickles. I hadn't bothered to photograph the dip beforehand, not knowing just how good it would be, so as soon as everyone started raving I grabbed the chips and the plastic container I'd brought the dip in, asked the hostess for a proper bowl, and went into the kitchen to take a quick photo.
Rebecca said this dip is also amazing as a burger topping and I can't wait to test that out.
Dill Pickle Dip
As seen on Foodie with Family
1 (8 ounce) package cream cheese, softened to room temperature
1 cup chopped dill pickles
1/4 cup finely chopped sweet onion
4 tablespoons pickle juice (use less for thicker dip or more for thinner dip)
1 teaspoon dried dill weed
salt and pepper, to taste
Pretzels, vegetable sticks, crackers, or potato chips for serving
Place the cream cheese in a bowl and use a wooden spoon to press and loosen the cream cheese. Stir in all of the remaining ingredients and mix until evenly distributed. Cover with plastic wrap and refrigerate for at least an hour before serving.
If you have any leftovers, this dip will keep for up to a week tightly covered in the refrigerator. It may become thinner as it sits.
Friday, February 19, 2016
Restaurant Knockoff: Chick-Fil-A Sandwich
I don't always crave Chick-Fil-A, but when I do, it's Sunday.
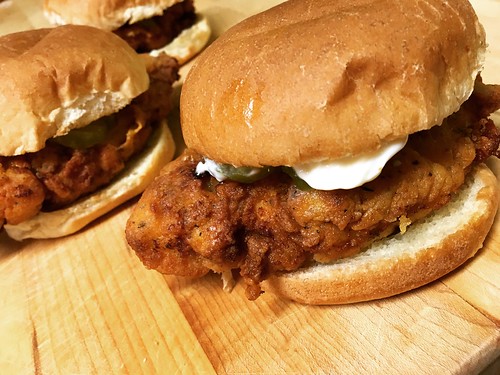
I know there's plenty of you out there who feel me on that one. Anyway, even though there's a Chick-Fil-A all of 5 minutes from our house, we never seem to go there. But that's not to say we don't all love a good fried chicken sandwich. I printed out this recipe for a Copycat Chick-Fil-A Sandwich ages ago, but for some reason I hadn't gotten around to actually making it.
Disclaimer for any current or former CFA employees: yes, this recipe contains pickle juice and yes, I'm fully aware that there's no pickle juice in an authentic CFA sandwich. Don't worry, my friend Chelsea (a former manager at CFA) gave me the run-down:
"Here's how we made the sandwiches: filet the raw chicken breasts, making sure they're a uniform thickness. Submerge completely in a milk wash (buttermilk/egg/water) and then coat thoroughly in seasoned flour, shaking off the excess. The flour mix comes in prepackaged bags and has paprika, onion powder, salt, pepper (I don't know exact quantities). I assume there was MSG or other ingredients as well, and most likely sugar. Deep fry in peanut oil in a pressure cooker for a couple minutes until golden brown. Place on a bun that's run through a toaster with "butter oil" on it, add two dill pickle chips, and serve."
Chelsea's theory for why these at-home recipes include pickle juice is due to the pickles sitting on the bread and the bread and chicken absorbing the flavor. I'm not sure two pickle chips is going to impart that much flavor, so my theory is that pickle juice adds that awesome tang but it also keeps the chicken moist, almost like brining. I don't know about most home cooks, but I'm not deep-frying in a pressure cooker. I shallow-fried the chicken for these sandwiches in less than an inch of oil. Frying in a pressure cooker is going to help the chicken retain moisture. The pickle juice helps replicate that for the home cook.
After doing some research online, it looks like the folks over at Serious Eats have come the closest to the real recipe. Hats off to them! As for me, I absolutely love marinating chicken in pickle juice. It's the secret to my homemade chicken nuggets and I highly recommend it, even if it isn't truly authentic.
Speaking of pickle juice, for years I threw all that delicious brine away once we'd eaten the pickles. Not anymore! At any given moment you'll find at least two jars of pickle juice in my fridge. I use it for nuggets, and now I'll use it for these sandwiches. I also put it in my potato salad in the summer.
One last thing - while the restaurant only serves two pickle slices with their sandwich, since you're making it at home you can do whatever you want. We all love pickles so I put at least 6 or 8 on our sandwiches. Rebel!
Restaurant Knockoff: Chick-Fil-A Sandwich
Slightly adapted from Hilah Cooking
4 small boneless chicken breasts*
1 cup pickle juice
1 egg
1/2 cup milk
1 1/2 cups flour
3 tablespoons confectioners’ sugar
2 teaspoons paprika
2 teaspoons salt
1 teaspoon black pepper
1 teaspoon garlic powder
1 teaspoon dried basil
vegetable, canola or peanut oil for frying
4 hamburger buns, buttered and toasted
Pickle slices, for serving
Place the chicken breasts, one at a time, in a plastic food storage bag. Pound to an even 1/2 inch thickness. Place all the chicken in a plastic food storage bag and marinate in the pickle juice for 4 hours.
Beat the egg and milk together in a bowl. Combine the flour, sugar and spices in a plastic food storage bag. Remove the chicken from the pickle juice and place in the bag with the flour. Seal the bag and toss to coat the chicken. Dip each piece of chicken in the egg mixture to coat on both sides, then put it back in the bag with the flour. Once all the chicken went through the egg wash, seal the flour bag again and toss to coat.
Heat about 1/2 an inch of oil in a deep skillet until smoking. Add the chicken and cook for 5-6 minutes per side, or until golden brown and cooked through. Remove to a paper towel-lined plate to drain. Serve on the toasted buns mayo and pickle slices.
*If your chicken breasts are huge (like so many seem to be these days) only use two large breasts instead of four. Cut them in half width-wise and then pound them thin.
Wednesday, February 17, 2016
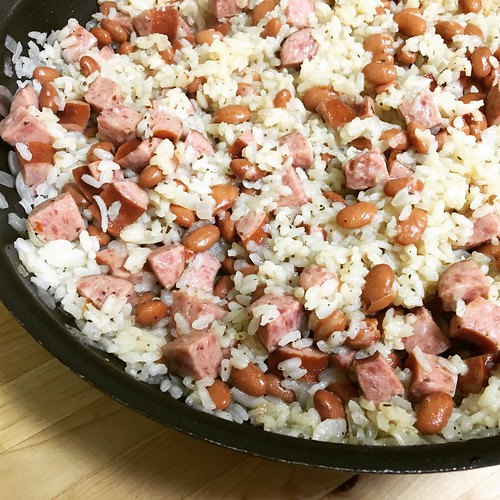
Skillet Beans and Rice with Kielbasa
Before I tell you about this truly amazing, super simple one-pot meal I have exciting news! We're one month away (one month!!) from Daylight Savings Time. Gah! I can hardly stand it. I am so, so, so, so ready to be able to photograph meals in natural light again. So ready.
Ahem.
Now that we've got that out of the way, let's talk about this Skillet Beans and Rice with Kielbasa. Lordy, was this GOOD. Honestly, I wasn't expecting much. It's a pot of rice, beans and kielbasa; how exciting could it be? Boy was I wrong.
My mom's side of the family is Polish so I'm no stranger to kielbasa. We have it every year at Easter, but it's not a meat I usually cook on a weeknight. That will definitely change after this little beauty.
Unfortunately, my parsley went bad in the fridge but I didn't even miss it. I also subbed the 3 minced garlic cloves with 1/2 teaspoon of garlic powder. It pains me to say it, but I just can't handle fresh garlic anymore. It started when I was pregnant - garlic gave me wicked heartburn. It's been 7 years and I still can't handle it. I've been leaving it out of recipes or subbing garlic powder when I can. Sigh.
Skillet Beans and Rice with Kielbasa
Ever so slightly modified from BellyFull
1 tablespoon extra virgin olive oil
1 tablespoon unsalted butter
1 package (14 ounce) polska kielbasa, diced
1 medium sweet onion, diced
1 cup white rice
2 cups low sodium chicken broth
1 can (14 ounce) pinto beans, rinsed and drained
1/2 teaspoon dried Italian seasoning
1/2 teaspoon garlic powder
1/4 teaspoon red pepper flakes
salt and pepper, to taste
1/4 cup finely chopped fresh parsley
Heat the oil and butter in a large non-stick skillet (make sure it has a lid) over medium-high heat. Add the kielbasa and onion. Sauté until the onions become soft and translucent, stirring occasionally, about 5 minutes. Add the rice and stir to coat the grains with the fat, about 1 minute.
Add the chicken broth, beans, Italian seasoning, garlic powder, red pepper flakes, salt and pepper. Bring to a boil. Cover and reduce the heat to low so it stays at a simmer. Cook for 22 minutes, stirring occasionally so the rice doesn't stick.
Remove from the heat and stir in the parsley.
Monday, February 15, 2016
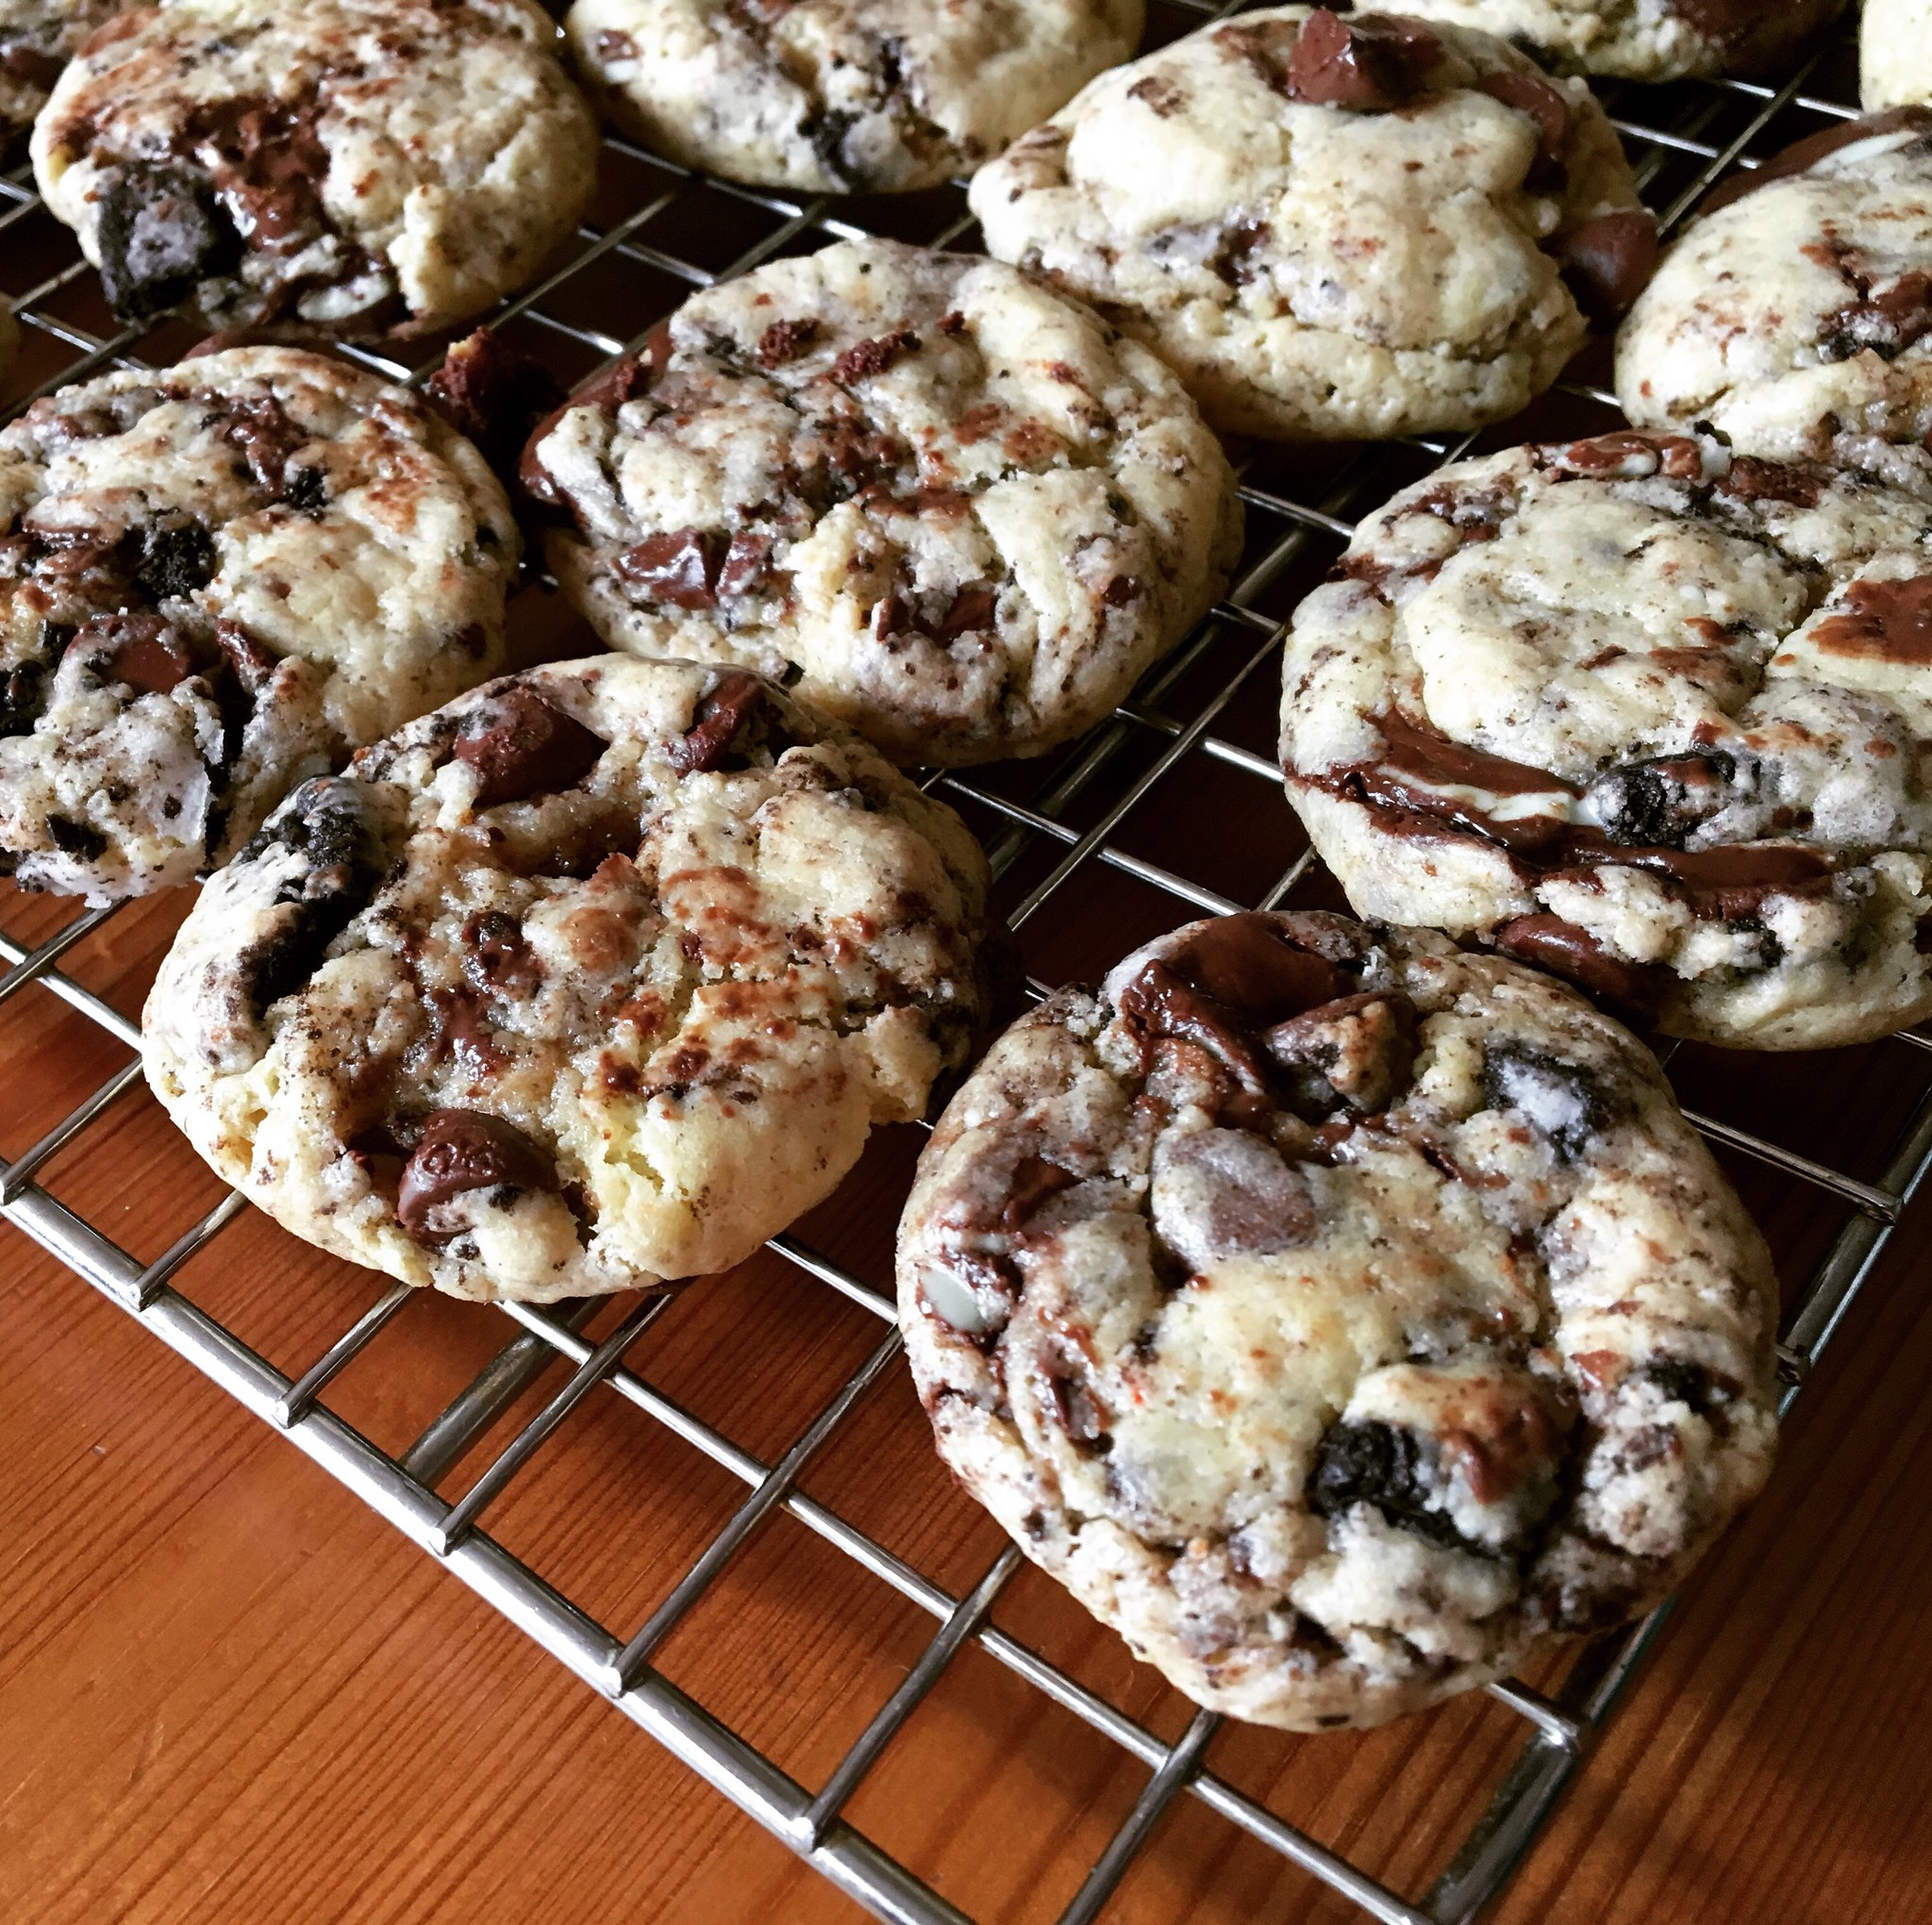
Oreo Peppermint Cookies
You're going to laugh at me. Do you want to know the reason I made these Oreo Peppermint Cookies? It's because I had half a brick of cream cheese leftover from the weekend of Winter Storm Jonas when we treated ourselves to bagels for breakfast.
That seems silly, right, trading cookies for a bagel. But see, here's the thing - if there's cream cheese in the house, I'll want to buy bagels to use it up. And then it becomes a vicious cycle of buying more cream cheese to finish the bagels and more bagels to finish the cream cheese. The truth is, I have a serious weakness for bagels. I used to eat half an everything bagel with cream cheese for breakfast every morning. In the summer I'd add nice, thick slices of fresh Jersey tomatoes and wash it all down with a tall glass of orange juice. That breakfast was the first thing to go when I decided to get serious about weight loss, exercise and healthier living a few years ago.
But cookies...meh. I can take or leave a cookie. The only dessert I have no willpower over is cake. I figured I'd make these cookies, we'd eat a few and then the rest would go into the office with Steve. Katie and I made the dough one Sunday morning and baked them off that afternoon before we went to my parent's house for Sunday dinner. And, as planned, the rest went to the office Monday morning.
Steve couldn't find the Andes Peppermint Crunch chips listed in the original recipe, so he just got a regular box of Andes mints. I crushed them up like I did for the Oreos and that worked fine and tasted great.
Because of the cake mix, these don't taste like your typical homemade cookie, but everyone who tried them liked them.
Oreo Peppermint Cookies
Slightly modified from Inside BruCrew Life
1 box yellow cake mix
1 stick butter, melted
1 egg
1/2 teaspoon peppermint extract
1/2 teaspoon vanilla extract
4 ounces cream cheese, softened
8 Oreo cookies, crushed into pieces
1 package Andes mints, crushed (or 1 cup Andes Peppermint Crunch pieces)
1/2 cup chocolate chips
Preheat the oven to 350 degrees.
Combine the cake mix, melted butter, egg, and extracts in a large bowl. Using a hand mixer, beat until a soft dough forms. Add the softened cream cheese and beat in gently until combined. Stir in the Oreos, peppermint pieces and chocolate chips. Cover the bowl and refrigerate the dough for at least 30 minutes.
Using a 1 1/2 tablespoon cookie scoop, divide the dough into 36 balls.
Bake on an ungreased cookie sheet for 9 minutes. These didn't spread at all, so I was able to fit 8 dough balls on each sheet. The cookies will be very soft and look under done. Let them sit on the hot cookie sheet for 2 minutes, then gently remove them with a spatula to a cooling rack. Very gently tap the tops of the cookies with the bottom of the spatula to even out the tops. Let them sit until completely cool. Store in an airtight container.
Wednesday, February 10, 2016
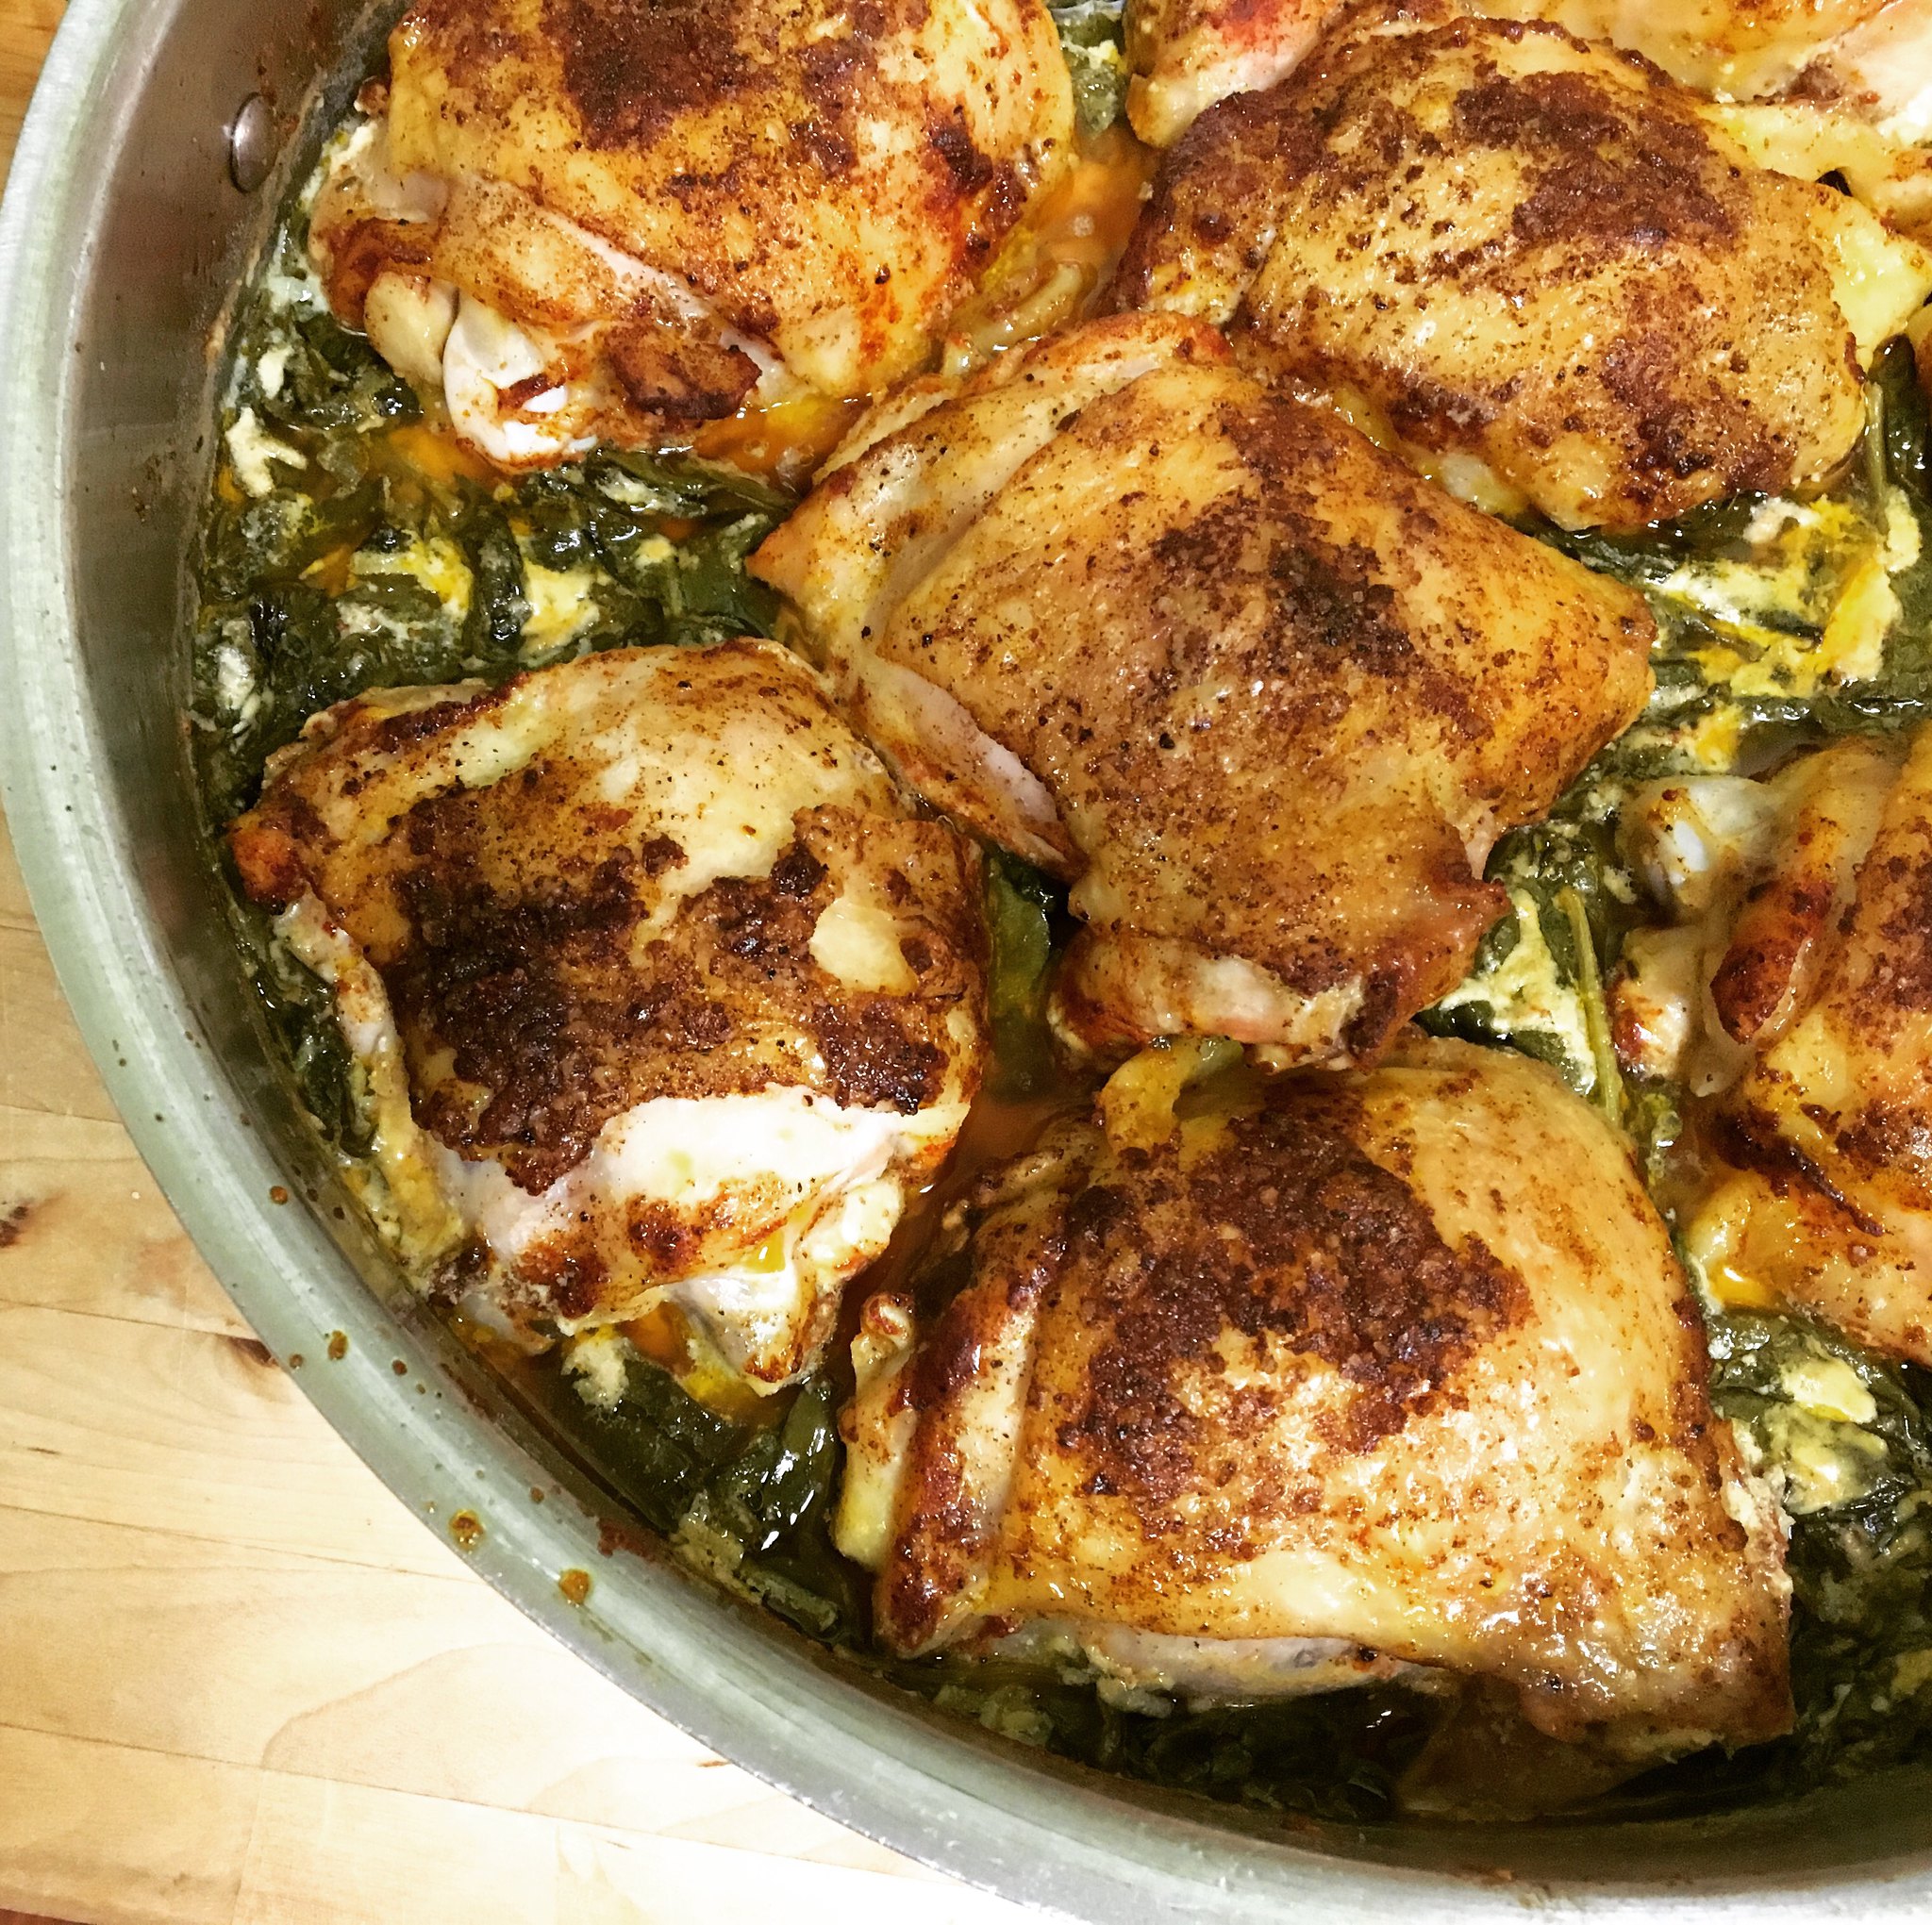
Lemon Butter Chicken
If you know me at all, or have read this blog for any length of time, you know I love to cook. That seems like a ridiculous statement because, duh, why else would I have a food blog. But I say that because, as you may assume, my love of cooking means I've done quite a lot of it over the course of my life. So for me to say this Lemon Butter Chicken is one of the Top Ten Best Things I've Ever Cooked...Ever carries a lot of weight.
I'm not even exaggerating. We all swooned over this meal. Katie and I each ate one thigh and then she asked to split another with me. She might be a good eater but that's still a lot of food for her. I cooked all 8 thighs, thinking we'd have a ton of leftovers, but between the three of us we easily ate it all between dinner and lunch the next day.
The sauce is what makes this so amazing. It's garlicky and creamy and positively drinkable. You'll want a nice mound of fluffy mashed potatoes (or even some crusty bread) to sop it all up. The only changes I made were to lighten it up a bit by using half-and-half rather than heavy cream (a substitution I've been making for years), and to use fresh thyme.
And, as if you need another reason to run right out and make this, it's SO EASY. Like, ridiculously easy. A novice chef could make this without any issues. All you have to do is season and brown the chicken, then pour over the sauce, wilt in some spinach and pop it in the oven. Chicken thighs are incredibly forgiving, so you can't mess this one up. Do yourself a favor and make this meal ASAP.
Lemon Butter Chicken
Ever so slightly modified from Damn Delicious
8 bone-in, skin-on chicken thighs
Smoked paprika, to taste
Kosher salt and freshly ground black pepper, to taste
1 cup chicken broth
1/2 cup half-and-half
1/4 cup freshly grated Parmesan
Juice of 1 large lemon
2 teaspoons fresh thyme
3 tablespoons unsalted butter, divided
3 cloves garlic, minced or grated
1 6oz bag baby spinach
Preheat the oven to 400 degrees. Season the chicken thighs with paprika, salt and pepper, to taste. Combine the chicken broth, half-and-half, Parmesan, lemon juice and thyme in a measuring cup or bowl.
Melt 2 tablespoons of the butter in a large oven-proof skillet over medium high heat. Add the chicken, skin-side down. Sear both sides until they're golden brown, about 3-4 minutes per side. Remove the thighs to a plate and discard the excess fat in the skillet.
Melt the remaining tablespoon of butter in the skillet. Add the garlic, and cook, stirring frequently, until fragrant, about 1 minute. Stir in the sauce ingredients (chicken broth, etc.) you combined earlier. Bring to a boil, then reduce the heat and stir in the spinach. Stir the sauce to wilt the spinach. Place the thighs back in the skillet.
Put the skillet into the oven and cook for 30 minutes. Remove, remembering to place a pot holder on the handle so you don't burn yourself. Serve immediately over mashed potatoes.
Wednesday, February 03, 2016
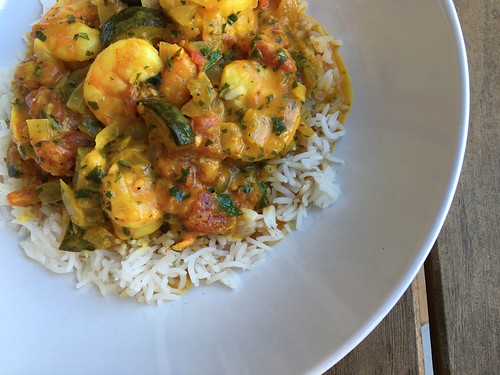
Coconut Shrimp Curry
My friend, Katie, posts photos of her family's dinner on Facebook sometimes. The other night she made this Coconut Shrimp Curry recipe and I couldn't get it out of my head. I quickly printed off the recipe to make this week.
This was so, so good. Light and fresh, with perfectly cooked shrimp. The only change I made was to add zucchini so I could call it a complete meal. You could add whatever veggies you like. I think carrots would be nice. Katie added sweet potatoes and said that was good.
Coconut Shrimp Curry
Slightly modified from Jo Cooks
For shrimp
1/4 teaspoon salt
1/4 teaspoon pepper
2 tablespoons lemon juice
1 lb extra-large shrimp, peeled and deveined
For sauce
1 tablespoon vegetable oil
1 medium onion, chopped
1 small zucchini, quartered lengthwise, then cut into bite-size pieces
3 garlic cloves, minced
1 tablespoon minced fresh ginger
1/2 teaspoon pepper
1 teaspoon salt
2 teaspoons ground coriander
1/2 teaspoon turmeric
1 teaspoon yellow curry powder
1 (14.5 oz) can diced tomatoes, undrained
1 can (5.5 oz) unsweetened coconut milk
Fresh cilantro, minced
Cooked basmati rice
In a bowl or plastic food storage bag, toss the shrimp with the marinade ingredients. Allow to marinate for 15 minutes.
While the shrimp is marinating, heat the oil in a medium size pot. Add the onion and zucchini, and cook for 2 or 3 minutes. Stir in the ginger, garlic, pepper, salt, coriander, turmeric and curry powder.
Continue to cook over medium heat until the onion is translucent, another 2 minutes. Add the tomatoes with juices and stir well. Cook for about a minute, then add the coconut milk. Stir and bring to a boil. Cook for 5 minutes. Add the shrimp with the accumulated juices from the marinade and cook for another 5 minutes or until the shrimp is pink and cooked through.
Serve over hot rice garnished with cilantro.